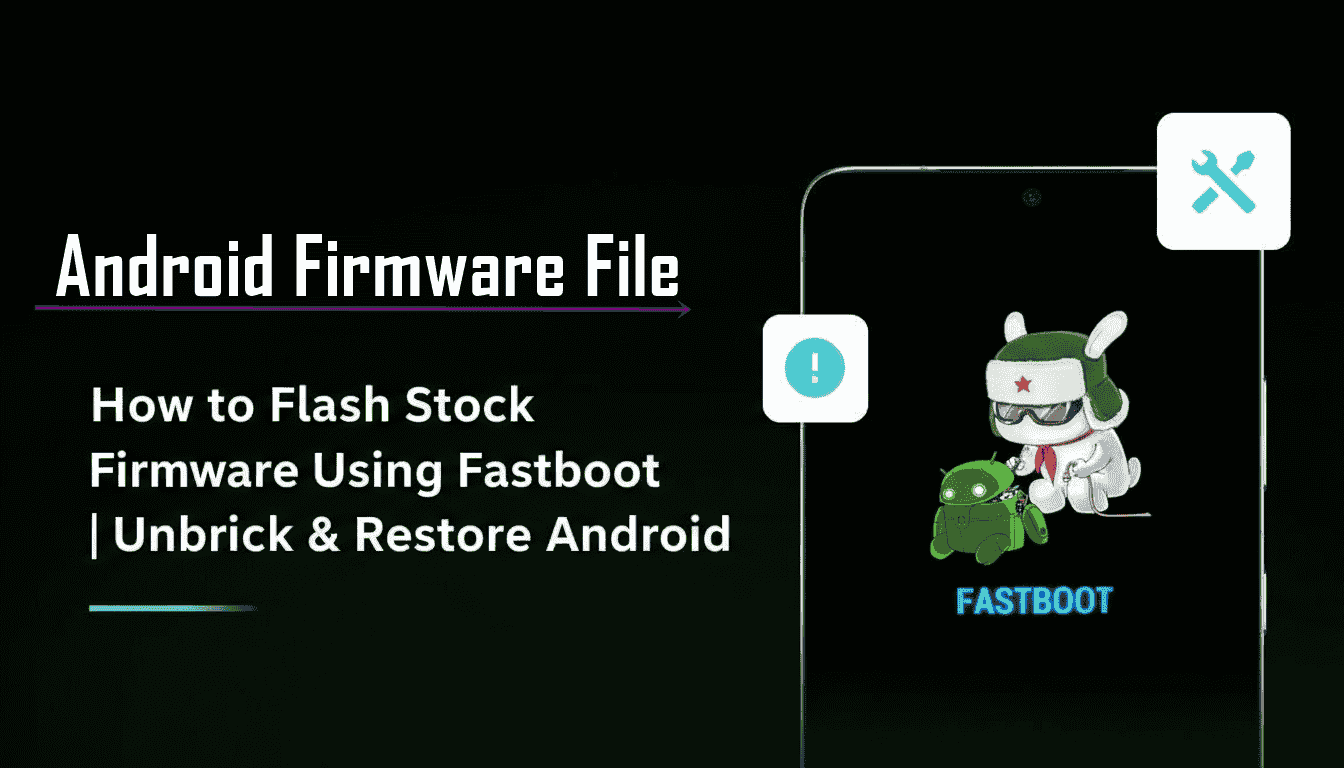
How to Flash Stock Firmware Using Fastboot | Unbrick & Restore Android
Fastboot is one of the most powerful and universal tools in the Android ecosystem for flashing firmware. It is a command-line utility that allows you to communicate directly with your device’s bootloader, enabling you to flash individual partitions like the boot, system, and recovery images. This method is the standard for a wide range of devices, particularly those with a clean, near-stock Android experience like Google Pixels, many Nokia models, and Motorola phones. It is the primary method for recovering a device from a soft brick (like a bootloop), downgrading to a previous OS version, or performing a clean installation to fix persistent bugs.
⚠️ CRUCIAL WARNING: High-Risk Procedure for Advanced Users
Using Fastboot is an advanced procedure that requires an unlocked bootloader. An error in the process or using the wrong firmware can permanently brick your device. This process will completely erase all your personal data (photos, contacts, apps). Proceed with extreme caution and at your own risk.
⚠️ Prerequisites: Before You Begin
Click Here for the Essential Pre-Flashing Checklist
- Correct Firmware Package: You must have the official Fastboot-compatible firmware for your exact device model. These files are typically extracted into multiple
.imgfiles and often include aflash-all.batscript. - Unlocked Bootloader: This is a mandatory requirement. Fastboot cannot write to system partitions on a device with a locked bootloader. Unlocking the bootloader also wipes all data.
- Windows PC: This guide is based on a Windows environment.
- Original USB Cable: Use a high-quality, original USB cable to ensure a stable connection.
- Charged Battery: Your phone should have at least a 60% charge to prevent it from shutting down during the flashing process.
🛠 Required Tools & Downloads
| File / Tool | Download Link |
|---|---|
| ADB and Fastboot Platform Tools | Download from Google |
| OEM USB Drivers | Download from Google (Find your brand) |
Step-by-Step Guide to Flashing with Fastboot
Part 1: Setting Up Your PC
- Install Drivers: Install the specific USB drivers for your phone’s manufacturer (e.g., Nokia, Motorola).
- Extract Tools & Firmware: Download and extract the ADB/Fastboot Platform Tools to a simple location (e.g., `C:\platform-tools`). Next, download and extract your device’s firmware files.
- Combine Files: For simplicity, copy all the extracted firmware files (the
.imgfiles, `.bat` script, etc.) and paste them directly into your Platform Tools folder. All your necessary files should now be in one place.
Part 2: Flashing the Firmware
- Boot to Fastboot Mode: Power off your phone completely. Then, press and hold the designated key combination to enter Fastboot Mode. This is typically Power + Volume Down. Connect the phone to your PC.
- Open Command Prompt: Navigate to your Platform Tools folder. Hold down the Shift key and Right-Click on an empty space within the folder, then select “Open command window here” or “Open PowerShell window here”.
- Verify Connection: In the command prompt, type the following command and press Enter:
fastboot devices
A serial number should appear, confirming that your device is connected correctly. If it shows “waiting for device,” your drivers are not installed correctly. - Execute the Flash: You now have two paths, depending on your firmware package.
- Method A (Easiest – Using Automated Script): If your firmware folder contains a file named `flash-all.bat` (for Windows), `flash-all.sh` (for Linux), or similar, you can simply double-click the `flash-all.bat` file. A command window will appear and automatically flash all the required partitions.
- Method B (Advanced – Manual Flashing): If no script is provided, you must flash each partition image manually. You will type a series of commands, one for each `.img` file. The exact files and order can vary, but a typical sequence looks like this:
fastboot flash boot boot.img
fastboot flash system system.img
fastboot flash vendor vendor.img
fastboot flash recovery recovery.img
fastboot flash userdata userdata.img
fastboot reboot
- Wait for Completion: Whether using the script or manual commands, do not unplug the phone. The process will take several minutes. Once finished, the phone will reboot automatically. The first boot can take a very long time (up to 20 minutes).
❓ Frequently Asked Questions (FAQs)
- Q1. What is the difference between Fastboot and EDL/QFIL mode?
- Fastboot is the standard, user-accessible bootloader interface for flashing. EDL (Emergency Download Mode) is a much lower-level recovery mode for Qualcomm chips, used by tools like QFIL to unbrick a completely dead (“hard bricked”) device. You must be able to boot into the Fastboot menu to use this guide.
- Q2. Will this process unlock my phone’s bootloader?
- No. An unlocked bootloader is a prerequisite. This process will not unlock it for you. You must unlock the bootloader using a separate `fastboot oem unlock` command (or your manufacturer’s specific method) before you can flash firmware.
- Q3. Will this trip Samsung Knox or other security features?
- This method is not typically used for Samsung devices, which use Odin. For devices like Nokia or Motorola, flashing official firmware via Fastboot does not trip any permanent security fuses, but unlocking the bootloader in the first place may void your warranty.
🔧 Device Troubleshooting
- Command Prompt shows ‘waiting for device’: This is the most common problem and is always a driver issue. Ensure you have installed the correct ADB/Fastboot and OEM drivers for your brand. Check Windows Device Manager to see if the phone is recognized correctly when in Fastboot mode.
- Fastboot is not recognized as a command: This means you did not open the command prompt from within the Platform Tools folder. Make sure the `fastboot.exe` file is in the same folder where you are running the commands.
- Flash fails with “partition flashing is not allowed” or “security” error: This is a definitive sign that your bootloader is still locked. You cannot proceed until it is unlocked.
- After flashing, the phone is stuck in a bootloop: This can happen if old data conflicts with the new system. You must perform a factory reset. Boot into your phone’s recovery mode (usually Power + Volume Up), and use the volume keys to select “Wipe data/factory reset”.


![ZTE Nubia M2 (NX551J) Official Stock Firmware and Flashing Guide [Snapdragon 625]](https://www.androidfirmwarefile.com/wp-content/uploads/2025/11/ZTE-Nubia-M2-NX551J-768x512.jpg)


